Tuesday, March 12, 2019

How To Make A Wood Growth Chart

Kids grow up so fast! Those milestones we parents track like their first tooth, rolling over, crawling, and walking happens in the blink of an eye, or so it seems. 

As a mom, I wanted to treasure these moments forever knowing that the next growth milestone is just around the corner! I just don't want to forget any of them! 


DIY Wood Growth Chart


Keeping track of how much your child has grown from year to year is just another great way to treasure their childhood. We have been tracking all four of our kids' annual growth with a cardboard growth chart we got from our pediatrician when our first child turned one. Every birthday I get out the chart and measure the birthday boy (or girl) making a mark in pen with their name and age on our growth chart. The kids love to see how they "measure up" to the height of their siblings when they were that age. 

So far my two boys are growing at about the same pace when I compare how tall they are at the same age. My second-born, however, is clearly the shortest and slowest grower compared to her siblings.

I love our growth chart but since it is cardboard I worry about its durability. So far it has done a good job serving its purpose for our family but I recently was inspired to make a wooden growth chart for two of my little nieces. The youngest is turning one in a few weeks and I thought this would make a great birthday gift. I am also making one for her sister who is 3.

I decided to make the growth charts from wood so they are durable as well as movable just in case someday my sister and her family move. This way they can take these special memories with them.

This project is super simple and fun!  Let me tell you how I made my wood growth chart.

This post contains affiliate links which means if you make a purchase through a link I may receive a small commission at no additional cost to you. For more information please see my Disclaimer page. Thank you!


Easy DIY Wood Growth Chart


Materials:
  • 1 .25" x 5.5" x 48" poplar wood board ( I found mine at Home Depot)
  • Paint (I used Behr brand interior paint) or wood stain
  • Newspaper or drop cloth (to keep the surface you are painting on clean and paint free)

DIY Wood Growth Chart Step-by-Step Tutorial


I really wanted a thin board for this project since it will be hanging on a wall in a child's room. The Home Depot has a ton of options for boards that vary in length, width, and thickness. I ended up choosing a .25" x 5.5" x 48"poplar board.

After you gather all of your supplies you are ready to begin. 

Step #1

  • First step is to cover your work surface with newspaper or a drop cloth so you don't get paint everywhere. It is up to you whether or not you want to paint or stain your wood board but both methods look great. 

The board I got from The Home Depot was poplar which is a light-colored wood that has beautiful wood grains visible throughout the entire board.  Staining would have enhanced the natural wood grain and looked lovely however I decided to paint the board.

  • Apply one coat of paint to each side and along the edges of the board allowing for the paint to dry before flipping it to the other side.


TIP - When you apply paint to wood the wood soaks up the paint resulting in a rough surface. After the paint has completely dried use a fine grit Sandpaper and lightly sand the painted wood. I liked the way the painted wood had a bit of a rustic look to it after I sanded it so I did not apply a second coat of paint. If you don't like a rustic look you may have to apply a second coat of paint to all sides of the board. 

Again, after the second coat of paint dries you will have to lightly sand the board so that the surface is smooth and free from rough spots.

Step #2 

  • Once the board is painted it is time to mark out the ruler measurements lightly in pencil. You will want to take into consideration that the wood growth chart will be hung on a wall that probably has baseboards. I chose to start my measurement markings at the height of 1 foot (12"). This means that when the growth chart is hung on the wall the bottom should be 12" from the floor.

Here is a graphic to show the steps I followed to paint the measurement marks. Below the picture are the written instructions:


You can choose any starting point that you want for your growth chart. The reason why I chose 12 inches was so my growth chart measurements had the height of my nieces as newborns. Both happen to be 19 inches tall as newborns so I thought it would be cute to include that measurement as their first growth milestone on their growth chart.

  • I placed my ruler along the edge of the wood board with the bottom of the ruler even with the bottom of the board. I then lightly marked one inch increments in pencil along the board until I had the entire length of the board marked and measured.

  • Next, I grabbed a 2 x 4 Lego block ( hey, don't judge it was just laying on the counter next to me and it worked great!) to use as a template for how long I wanted my finished inch markings to look. I used the short side of the Lego to mark the length of the lines at the 1", 2", 4", 5", 7", 8", 10", 11"  measurements. 

  • For the 3", 6" and 9" I used the long side of the Lego piece so that these markings would stand out. 

  • Then at every foot (2 foot, 3 foot, 4 foot and 5 foot) I measured and marked a 3 1/2" line. You can get a better idea of how this looks from the pictures above.

  • After I finished marking the inch and foot lines I used a fine tip paintbrush and painted over them with black acrylic paint. Go slow and steady so your lines stay straight and don't get wobbly! Let the paint lines completely dry before you do any more work on the growth chart.

  • Now that the measurement lines are dry it is time to add the numbers at the long 3 1/2" marks to show the "foot" measurements. I used a stencil and traced my numbers lightly in pencil first. 

If you don't have a stencil just print off a number in the font you like at the size that fits your project. Lay the printed number on your growth chart in the spot you like next to the appropriate "foot" marking and then with a pencil trace around the printed number pressing hard on the pencil so that the pencil leaves a mark on the wood. Lift the paper up and lightly trace over the indentations. 


  • Once all of the "foot" measurements have been penciled in grab your fine tip paintbrush and whatever color acrylic paint you want to use and paint fill in the numbers where you stenciled in the markings. I chose to use black acrylic paint which is the same as I used for the line measurement markings. Let the paint dry completely.

Step #3 

  • Because I was making these growth charts for my nieces I wanted to include their names on the growth charts so they know whose is whose. I followed the same steps I used for stenciling in the numbers but this time with letters to spell out their names. Once I was happy with the placement and had traced the letters onto the wood I used my fine tip paint brush and painted in their names. I chose a complimentary color in acrylic paint to paint their names and I really love how it turned out!


Step #4

  • I chose to decorate each of these growth charts with cute animals, flowers, and simple shapes because it would match the theme my nieces' playroom is decorated with which I knew is where these cute little growth charts were going to be hung. The options for decorating your custom wood growth chart are endless! Let your imagination go wild. If you don't feel comfortable free-handing the drawings you could always find a great stencil and trace it.


Or how about hot gluing some cute painted wood animals 
Amazon
Amazon has a big selection of these cute critters!! 

Step #5

  • When I was Pinteresting to get some good ideas and inspiration for wood growth charts one of the steps I found missing in a lot of tutorials was how to hang your finished wood growth chart. I wanted to make sure you weren't left in the dark with this step so here is what I did! 

  • Since the wood I used was fairly thin I was limited to the type of sawtooth hanger because most have long nails that would pop through the front of the wood if I used them. However, I did find one type of sawtooth hanger, a no-nail sawtooth hanger that wouldn't pop through the front of the growth chart when I attached them. They were super easy to attach requiring only a hammer to pop the edges of the hangers into the wood. Here is what I used:
No Nail Sawtooth Hanger from Amazon

These little hangers are awesome! If you have never used them you have to give them a try! The portion that gets pounded into the wood is serrated so it won't pop out once it is hammered into the wood. 

Step #6

  • The last step for this project is to add a couple of clear rubber bumper pads to the bottom corners on the back of the growth chart. Once again here is what I recommend using:
clear rubber bumper pads


That's it, you are all done! Just remember when hanging the growth chart to measure from the floor up to the required height to start. I hung these growth charts starting at 12" up from the floor. Don't they look so cute! I can't wait to see how quickly my nieces grow over the next few years. 


Don't forget to PIN this project for later so you can use this tutorial to make your own wood growth chart. Oh, and please share your ideas, finished projects, and questions with me in the comment section. 

Thanks for stopping by - see you soon!

Tuesday, March 5, 2019

8 Life Lessons Learned From Classic Children's Books


My children, from a very early age, have always loved being read to whether it be right away in the morning or just before tucking them into bed at night. 

Many of the books I've read to them have become an important part of their childhood memories that they will remember far into adulthood.

Children's book pictures, whether they are colorful or just black and white drawings, breathe life into the characters. 

When I was a little girl my sister and I loved the story of Ping the naughty little Chinese duckling who gets separated from his family as they sail away on a river boat. The drawings transported us directly to the small boat sailing down the Yangtze River in China where we first met Ping. This little duck left a lasting impression on both my sister and me. Not only did little Ping teach us about the consequences of disobeying but we got a small glimpse into the far away distant country of China through the pictures. (Oh, and to this day my sister affectionately names little baby ducks "Ping".)

Life lessons are told through these stories, teaching children so many important things but at their level. Below is a great graphic from Invaluable highlighting some of the life lessons taught to children through some of the most beloved children's books. 


So many times the author who wrote the story receives all the accolades but have you ever wondered who is behind the pictures and illustrations in a book? Who are these artists and illustrators and what inspired them to create these lovable characters?

Here is a fabulous behind the scenes look from the Invaluable.com blog into eight children's book illustrators and artists who brought these lovable classic stories to life. Their stories are fun to read and I'm sure you will enjoy them as much as I did. 

Next time your little one crawls onto your lap to snuggle up for a bedtime story take a little extra time to explore the illustrations and artwork and remember the great artist who created it. 

Ever wonder why it is so important to read to your child? Here are 10 Reasons Why It Is Important To Read To Your Child

Add caption


Thursday, February 28, 2019

Teach Kids The Elements of Art Using Children's Storybooks


Have you ever noticed how beautiful, detailed and amazing the artwork and illustrations in children's story books are? I know my kids have definitely noticed! There are times I am done reading the current page of a story, ready to flip to the next page but they aren't done "looking" at it! I can't blame them! I too can get completely lost in the pictures, daydreaming what it might be like sowing seeds like Ms. Rumphius or picking berries on the side of a hill with Mother in Blueberries for Sal.

Amazon

Amazon
This post contains affiliate links which means if you make a purchase I may receive a small commission at no additional cost to you. For more information please see my Disclaimer page. Thanks.

We also enjoy story book illustrations that have hidden pictures or objects in them such as Good Night Moon. Do you look for the mouse in the colorful illustrations like we do? Or how about finding the spider and grasshopper when you read any of Mercer Meyer's Critter books?

via: Amazon

For children who haven't yet learned how to read, the illustrations in a book tell the story to them. My youngest who is just learning how to sound words out always goes to bed with a pile of story books in his bed to "read" before he falls asleep. I'm always amazed at how much of the story he figures out just by reading the pictures. I love to hear his version of a story before I actually read it to him.


How To Teach Your Child About Art With Children's Storybook Illustrations & Artwork


The illustrations and the artwork in the story books you read to your child provide a lot of opportunities for you to talk to them about colors, texture, line and various media the illustrator used to create the picture. This might sound a little over their heads but if you bring it down to their level and keep it simple your child will grasp these concepts.


Texture


For example, when you read The Hungry Caterpillar by Eric Carle to your child talk to them about the texture of the fruit the caterpillar eats then go grab some real fruit and let your kids feel the texture of an orange and strawberry or plum and compare it to the pictures in the book. If you are really feeling adventurous pour a little paint on a paper plate, dip the fruit in the paint and then use it as a stamp on some paper. Can you see the seeds from the strawberry or the texture of the orange skin? (warning - don't eat the fruit that you used as a paint stamp!)

Check out this great tutorial from Rythms of Play on how to make citrus fruit art stamps.

from Rhythms of Play


Line


Great artists studied other great artists before they became great! Part of the process of studying art is to try to recreate what you see. For little ones, start with crayons! Keep it simple. Read the book Harold and the Purple Crayon by Crockett Johnson and then pull out a box of crayons and let your little one explore lines with their own purple crayon. Encourage your child to explore lines by pressing the crayon harder onto the paper and then putting just a light pressure on the crayon while drawing. The results might surprise your child.

I used this great art book, How to Teach Art to Children by Evan-Moor to teach my kids about line and other elements of art. I highly recommend this book and just loved that the concepts were simply explained and included simple projects for the child to practice what they just learned. Everything is laid out and ready for you to just read to your child.


find it HERE


Color


You don't have to look far to find colorfully muted or black and white or vibrantly colored pictures in children's storybooks because they are full of them! I love teaching my kids about color and watching them figure out how the three primary colors can be mixed to make other new colors. It is so much fun to play with color! Let your child experiment with color by allowing them to use water color paints to show how colors can be muted and less vibrant then have them paint with washable acrylic paints that have a rich vibrant color. Mixed media art is fascinating for young budding artists.

I found this great paint mixing art project inspired by the book The Mixed Up Chameleon by Eric Carle.


Studying these three basic art elements with your child is fun and educational. Storybook art is a great springboard to get you started and provides a ton of inspiration.


5 Inspiring and Colorful Children's Storybooks

Looking for some inspiring children's books that are full of beautiful artwork and illustrations? I have made it easy for you by compiling a list of books for you to start with. If you don't already have these books on your child's bookshelf you can always find them on Amazon or borrow them from your local library.

#1 Corduroy by Don Freeman


#2 The Little Engine That Could by Watty Piper


#3 The Rainbow Fish by Marcus Pfister


#4 The Very Hungry Caterpillar by Eric Carle
#5 The Mitten by Jan Brett


Of course there are many (MANY) more books that could be added to this short list! It is so hard to narrow down the list. What are your favorite children's storybooks that have amazing pictures? Please share in the comments. 

Why Reading to Your Child is Important


Ever wonder why it is so important to read to your children? Get the answers HERE as well as useful advice on how parents can fit reading into a busy schedule. 


Tuesday, February 19, 2019

5 Awesome Snow Activities For Kids


Depending on where you live winter can become a long gloomy season with no end in sight. When the days start to feel like that and the snow just keeps piling up why not take advantage of all that fluffy white stuff and have some fun! A positive attitude and some creativity is a great way to keep you and your kids from getting the winter "blahs".

A few weeks back our we experienced record cold temperatures! Thanks polar vortex! It really wasn't even safe for the kids to play outside for more than five minutes. When temperatures drop well below freezing it can be dangerous. But when the temperatures are lower than they have been in 30 years we just had to try a few fun activities to test out these amazing temps. 

For these two cool winter activities you definitely have to have cold temps to do them and since they only take a few minutes to do you don't need to worry about frostbite. 

This post contains affiliate links which means if you make a purchase I may receive a small commission at no additional cost to you. For more information please read my Disclaimer page.

#1 FROZEN BUBBLES  

Grab a container of bubbles, go outside and blow them. Try to catch a bubble on the end of the bubble wand or have it land (unpopped) on something like a wool glove or side of your house. When temps are super low the thin layer of the bubble starts to freeze quickly. After a few seconds use your bubble want and tap the frozen bubble to watch it crack and shatter. My kids loved this activity and it gave them a few minutes outside enjoying the extreme record freezing weather. 


#2 POT OF BOILING WATER TOSS

**Caution** this activity requires an adult to do however it is so much fun to watch the kids won't even care that they don't get to throw the water. This is another fun and quick activity to do when the temps are below zero! 

Fill up a pot halfway with water and boil it on the stove. While the water is on the stove get everyone dressed in their winter snow gear. When the water begins to boil have your children go outside while you grab the pot of boiling water and follow them outside. Throw the water up in the air (away from any people or other objects) and watch it freeze in mid air. If your temperatures aren't cold enough where you live I took a video of us doing it so you can watch to see what happens. 


(please ignore my teen daughter saying "it didn't work" because it actually did work - she just spoke too soon)


#3 SNOW ICE CREAM  

I scream, you scream, we all scream for SNOW ice cream! Ice cream is good anytime, any season. This fun activity to do with your kids this winter is simple and requires very few ingredients to create a sweet snowy treat. You will have to work quickly so the snow doesn't melt! To keep the snow cold while mixing the ingredients into it you could place the bowl of snow over an ice bath. Make sure the snow isn't plowed snow since this could contain chemicals and salt from the road. 


#4 SNOW PAINT

This is such a fun activity for kids to do outside in the snow! Gather up some squirt bottles and spray bottles, fill them with water and a few drops of food coloring. Have the kids squirt or spray designs into the snow! One year our kids stomped out a heart shaped pattern in the snow and then sprayed the entire outline with red coloring. It was beautiful! Just let their imaginations run wild.

#5 SNOW SCULPTURES

Tired of making snowmen? Why not have a snow sculpture competition with your kids! Grab shovels and start building a mount of snow to carve into a creative shape. Use buckets to make sculpture shapes like you would in the sand at the beach. Decorate your sculpture with sticks, flags or even paint it with snow paint. 


I hope these fun ideas inspire you to enjoy the season of winter a little more! Now head inside and grab a cup of hot chocolate to warm back up! 

More Activities For Kids

Spring is right around the corner! Check out this super fun seed bomb activity to do with your kids this winter to get ready for spring.


click HERE to read more


Wednesday, February 6, 2019

Top 5 Cutest Heart-Shaped Quilt Blocks

With Valentine's Day just around the corner it seems fitting to start working on some holiday-themed crafts, doesn't it? I love scouring Pinterest for inspiration, tutorials, and holiday-themed ideas.


Recently I came across a bunch of heart-themed quilt blocks and I fell in love! The variety, the colors, and the simplicity (or complexity) of these cute quilt blocks were so inspiring!

I wanted to share what I found and what inspired me as well as show you what project I selected to try out myself. Get ready, because inspiration is just around the corner (or below!):

This post contains affiliate links which means if you click on a link and make a purchase I may receive a small commission at no additional cost to you. For more information please see my Disclaimer page. Thanks!!


Top 5 Cutest Heart-Shaped Quilt Blocks


#1 Box of Chocolates 


Isn't this block so lovely! It is so pretty that I actually didn't notice the chocolate - well, OK yes I did but the quilt block is still amazing. The Box of Chocolate quilt block is from the Temecula Quilt Company and currently, they offer the pattern for this block free! To download the pattern click HERE


This pattern from Quilty Heart looks similar to the Box of Chocolates (above) but what I love is that the colorful hearts are bigger in size and a little more angular. Oh, and don't you just love the black-and-white version! How inspiring! You could make this in various colors depending on who you are making this for. Also, wouldn't this look great as a table runner or mini wall quilt?  


Bundles and Class Set Sale


#3 Color Of My Heart


The pops of color in this quilt from The Crafty Quilter really caught my eye! I just loved looking at each colorful square or half-square triangle. The variety of prints all blend together to make this beautiful patchwork heart mini quilt. The pattern for this heart quilt can be found HERE.


I found this image on a site for recycled paper crafts but I thought this would make an awesome string quilt. Don't you agree? All you need to do is cut out a heart shape from copy paper and start sewing strips of fabric to it just like a string quilt. Have you ever made a string (or strip) quilt block? It is a great scrap-busting kind of project. I love this tutorial from A Quilting Life and I recommend you use this tutorial to make your own string quilt blocks. 


  This little beauty is from the Pen and Paper Patterns blog including a tutorial and pattern! Wow, what an adorable heart block! The word bubbles gives this block such an interesting twist. 

So as you can see there are a ton of great inspiring heart block quilts to be found on Pinterest! 


Fat Quarter Shop One is your one-stop shop for fabric and more! 

And The Winner Is?

Are you wondering what pattern I attempted? I won't keep you waiting any longer! Here is the heart-shaped mini-wall quilt I ended up making:


I chose to make a Color My Heart quilt block based on the pattern from The Crafty Quilter. I love how it turned out! 

I actually quilted the inside of the heart following the shape of a heart to make it look like a bunch of hearts inside the big fabric quilted heart. You have to look closely to see the quilting lines in the picture.

This pattern was a great use of all the various scraps I have in my bin. I like that the colors all blend together to make a cute heart and I loved how The Crafty Quilter's block (above) used a black and white border so I copied that theme for my wall quilt. 

What heart block pattern makes your heart flutter? I'd love to hear about your favorite as well as see what you created. Please comment and share this post or Pin for later!

Happy Valentine's Day!

Looking for other fabric scrap buster quilt projects? Check out these great tutorials and ideas to use up some of your scraps:


Where to Find Good Quilting Fabric?

If you need to restock your fabric stash I highly recommend checking out The Fat Quarter Shop! They not only have high-quality (drool-worthy) fabrics but also patterns, accessories, and much more. 


29 Engagement Photo Props + Engagement Money Saving Tips


Congratulations on your engagement! Announcing this momentous occasion to everyone is a big job so why not make it fun? Engagement photos are a great way to share your big news with everyone .

This post contains affiliate links which means if you make a purchase through the link I may receive a small commission at no additional cost you you. For more information please see my Disclaimer pager. Thanks!

Your relationship is special so why not make your photo shoot extra special and incorporate some fun custom props to make the pictures of you and your fiance unique? 

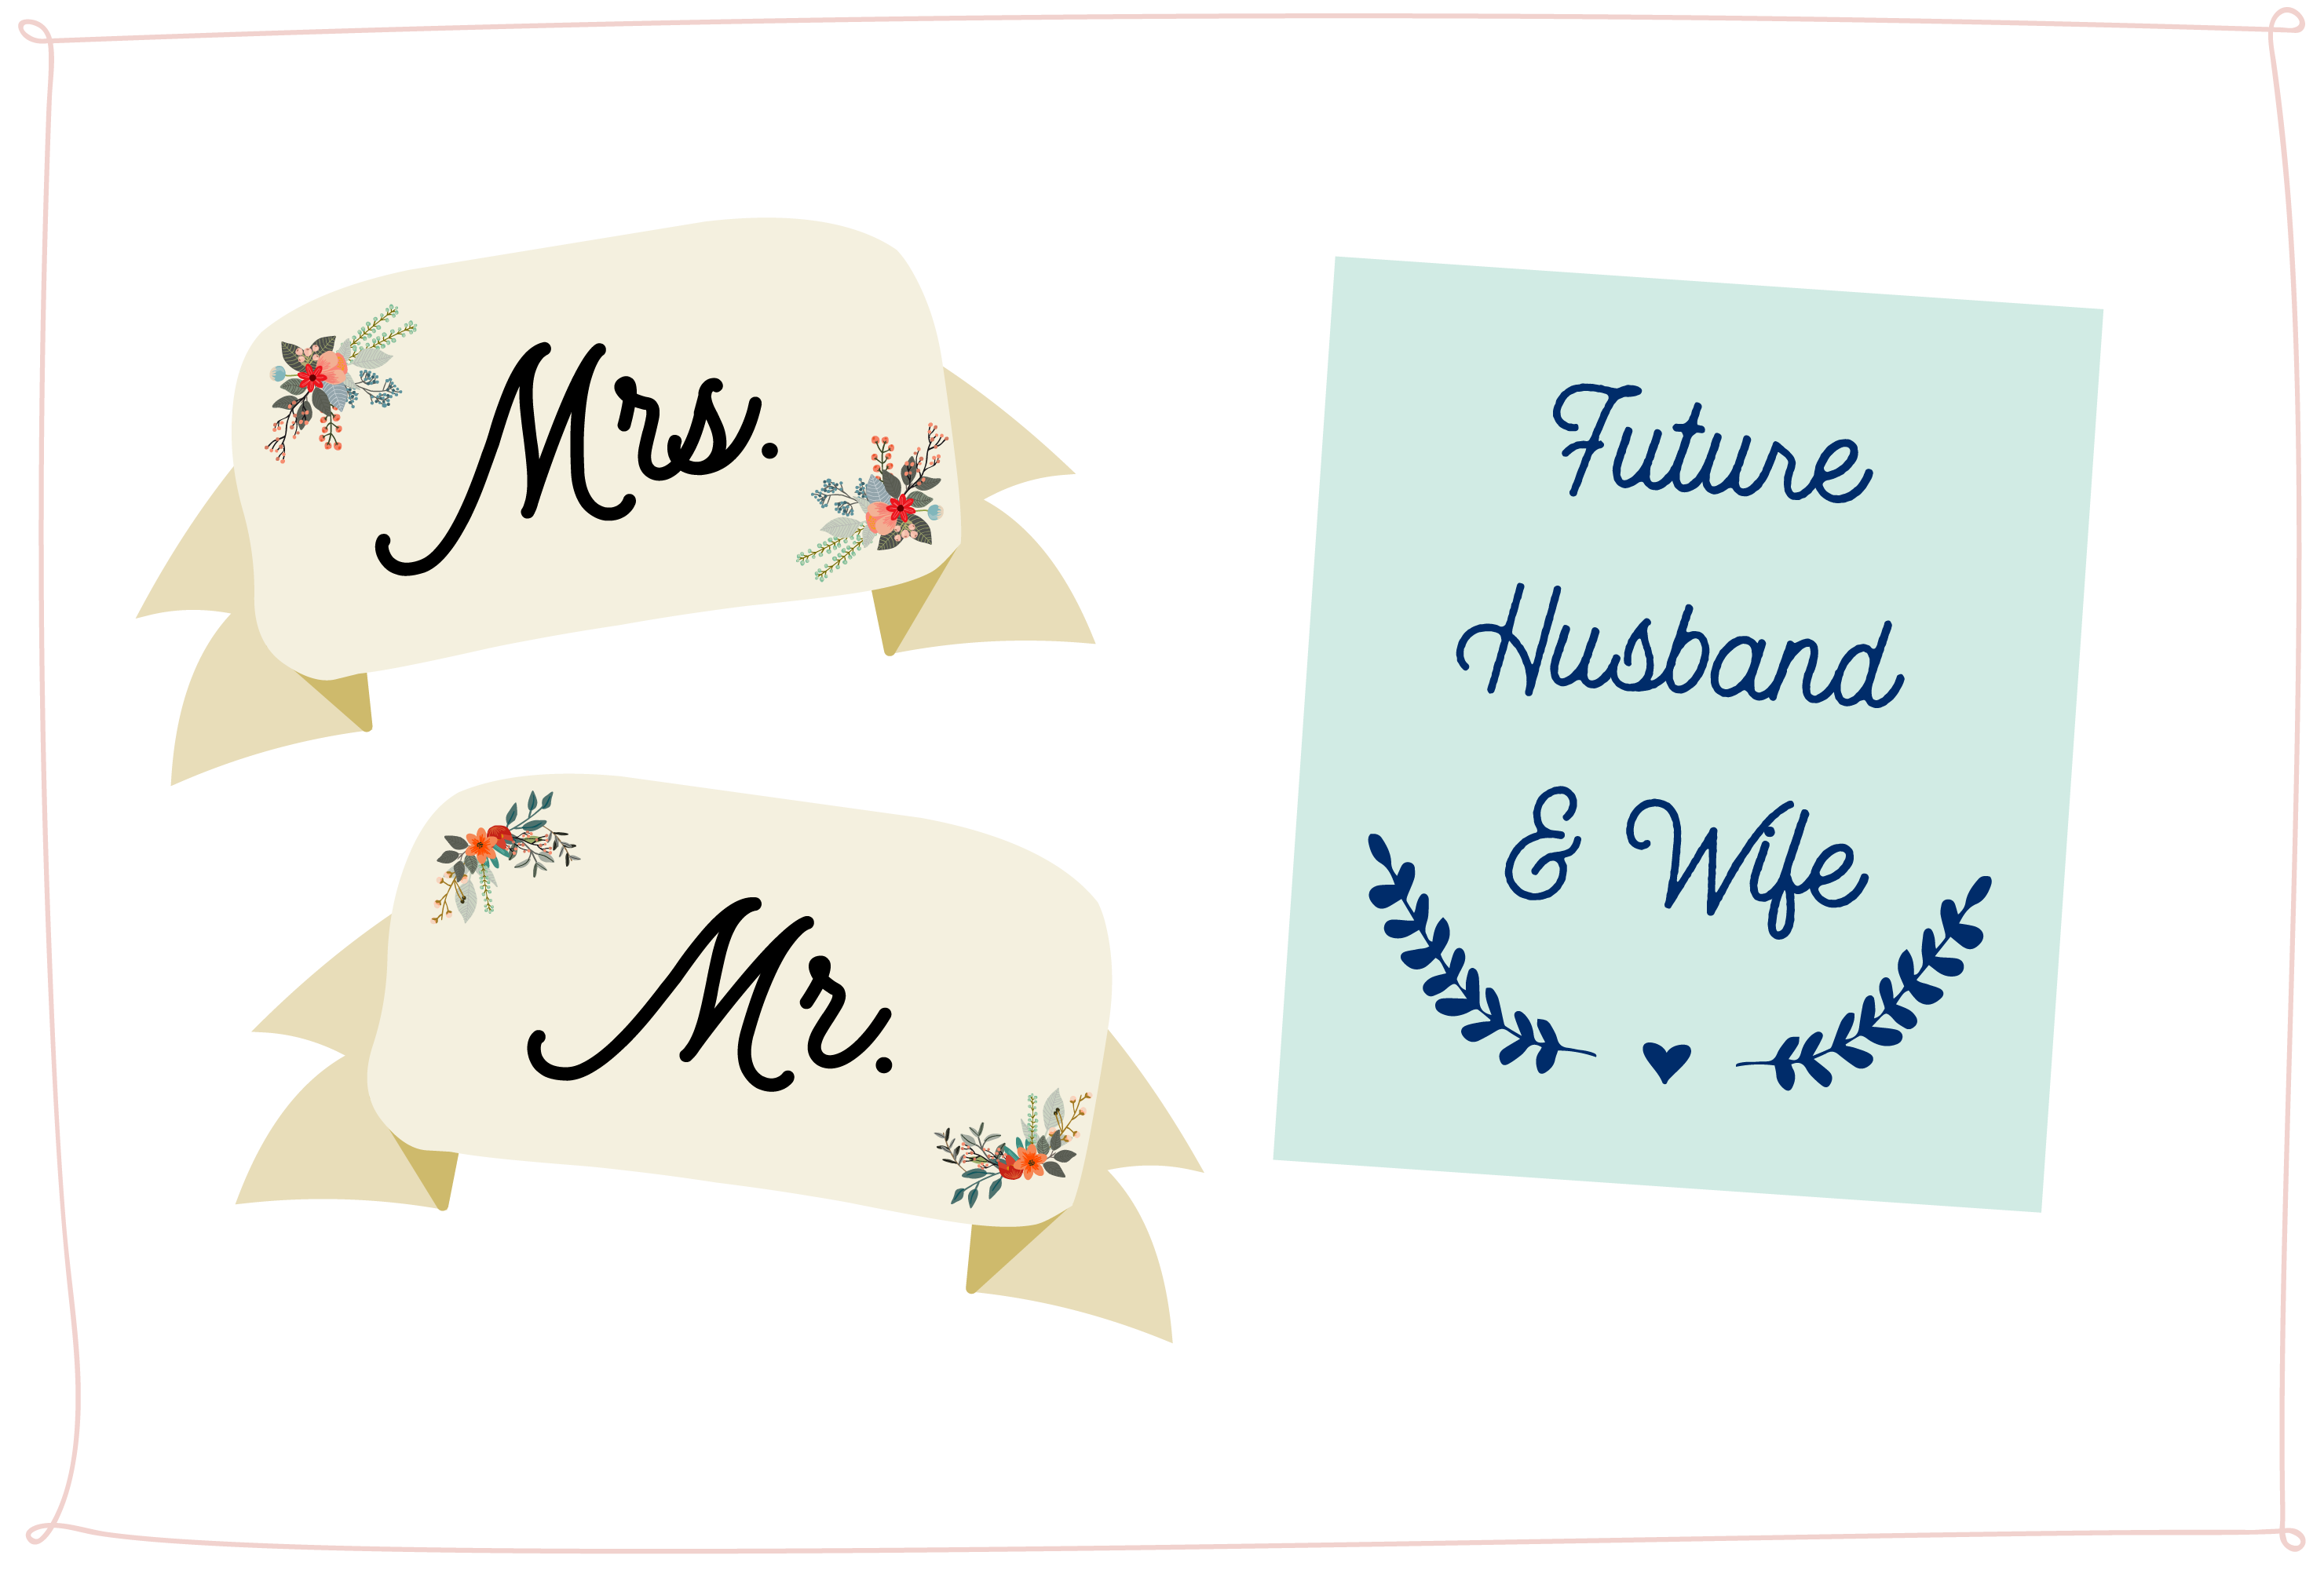
These 29 FREE Printable Engagement Photo Props and Ideas from Shutterfly will certainly make your engagement photos special! They include everything from symbols and funny props, props to incorporate children and pets as well as themes like vintage, rustic and pop art styles.

What a fun way to get creative and let your personalities shine through in your engagement photos! Here is the entire collection FREE for you to use! 


29 Free Printable Engagement Photo Props


Simple Symbols Photo Props


click HERE to download PDF


Vintage Photo Props

click HERE to download PDF


Rustic Photo Props


click HERE to download PDF


Personalizable Photo Props
Comic Book Exclamation Photo Props


click HERE to download PDF


Funny Engagement Photo Props
Props Including Pets & Kids
Short & Sweet Photo Props
A Fairytale Proposal Photo Props
New Titles Photo Props
click HERE to download PDF


Which theme best describes your relationship and which ones will you be using in your photo shoot? Share your ideas and photos with me in the comments! Also, don't forget to PIN this post for later.

$$ Save Money -Wedding Budget Tips


Keeping the cost of your wedding within budget, including engagement photos is important. In addition to the Free printable engagement photo props here are some other money saving tips that will help you save money and stay within your wedding budget.

Money Saving Tip #1: Use Free Printables
This is a great way to customize your photo shoot without breaking the bank. I recommend printing them out on thick card stock paper for durability. For a few extra dollars you can always have the printing done at Office Depot for a very reasonable cost. I've used Office Depot in the past for wedding shower and baby shower invites and they did a fabulous job for a super reasonable price.


Money Saving Tip #2: Hire A Friend
Finding a photographer to shoot your engagement photos does not need to break the bank. Consider asking a friend who has a good eye for taking photos - it might cost you a coffee at Starbucks but this is cheap compared to a professional! If you don't have any friends who are talented amateur photographers why not contact a local trade school or college to see if there is a photography student in need of building their professional portfolio.


Money Saving Tip #3: Use A Low Cost Printing Service

After the photo shoot consider having your photos printed through a service like Shutterfly or locally at Office Depot. This is a very reasonable option and most of these retailers have pre-made templates like collages for special occasions like yours. Also, keep your eye open for any discounts or coupons offered by these services.


Money Saving Tip #4: Wedding Website

Instead of printing out tons of engagement photos to mail to all of your friends and family why not create a personal website or wedding blog that includes all the photos from your photo shoot! Emailing the link to your wedding blog or website doesn't cost you anything and allows your friends and family instant access to view the pictures, make comments and share with even more friends.

Getting engaged and planning for your upcoming wedding should be fun! Finding opportunities to showcase your unique relationship to share with others is an important way to make your wedding and personal and special. You can do all this without breaking the bank!


More Bridal Shower & Wedding Tips


For more wedding and bridal shower tips and money saving advice check out these posts:


click HERE to read more


click HERE to read more
Don't forget to PIN these for later! And please share these posts that include great ideas, tips and advice with your friends and family. 


Hey, did you know that Amazon has a Wedding Registry? Could life get any easier? When I was engaged I remember trying to set aside time for my fiance and I to go to the stores we wanted to register at and then scan each item into our registry. It was time consuming and stressful! 

I love that you can now make your own registry online without having to walk around a store aimlessly scanning crockpots, dishes, cups and placemats. Plus you can always update, delete and add items whenever you need to all from the comfort of your own home. Boy do I wish that was around when I got married!  

Your guests will love the Amazon wedding registry too! I have used it many (many!) times to buy wedding shower and wedding gifts. I've had the gifts shipped to the bride or groom directly or right to me so I can bring it to the wedding. 

So do you have an Amazon Wedding Registry? Start yours today by clicking here to sign up and start adding your items to it.