Whether you have lost weight recently and your clothes seem a little roomier or maybe your child has outgrown the length of their pants but the waist is too big, a simple and easy alteration called taking a tuck is all you need to do to solve this problem.
Before kid's pants had those nifty adjustable elastic waistbands, my mom would always need to take a tuck in our pants so the waist would fit properly. Buying the next size bigger was more economical too since a growth spurt could happen at any time! Since adding to the length of a pair of pants isn't worth the bother, adjusting the waist was a wiser option.
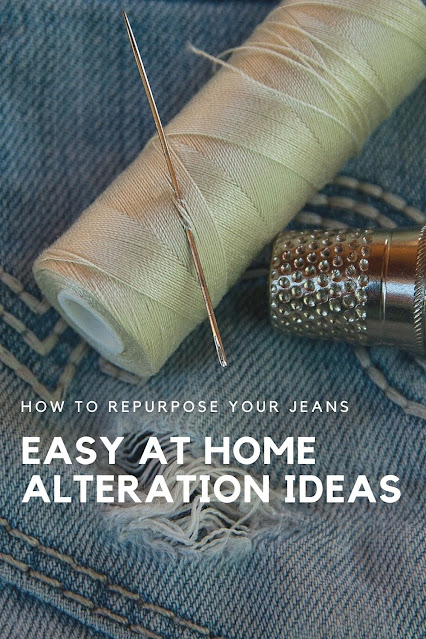
This post was written in partnership with Zulily. Looking for more easy sewing projects? Check out this post I shared on The Find by Zulily: Easy At Home Alterations - Simple Ideas to Repurpose Your Jeans.
Now that I'm a mom and in charge of clothing all the kids I learned quickly how to sew a tuck in order to save a little money and stretch out the useful life of a pair of kid's pants. I'm going to share with you how to do this simple alteration that you can easily do on almost any pair of pants, swimsuit bottoms, or even jeans.
The best part of taking a tuck is that it is a temporary alteration and will not ruin the clothes. As your child grows or if you happen to add back a few pounds you can easily snip the stitches of the tuck and release the waist to the original size.
How To Take A Tuck In A Pair of Pants
If you don't consider yourself a "sewer", no worries this is so simple anyone can do this. Follow along as I walk you through how to take a tuck.
- Sewing machine (optional but handy!)
- Sewing needle
- Thread (in the same color as the piece of clothing)
- Large butterfly clip (check your office drawer for this handy little guy!)
- Pins
Step-by-step Instructions:
1. If this is a new pair of pants (or any other article of clothing) make sure to wash and dry it according to the label instructions prior to making any alterations.
2. Try the pants on. Starting at the back of the pants waistband, just to the right or left side of the center back seam pinch from the inside the waistband fabric together adjusting it to the fit you desire. Clamp the butterfly clip over the pinched section of fabric and take off the pants. Insert a few pins along the edge of the butterfly clip into the fabric making sure to pin through both layers of fabric.
3. Turn the pants inside out taking care not to get pricked by the pins. With a sewing machine or by hand, stitch along the pins from the top of the waistband to the bottom of the waistband making sure to backstitch at the start and finish so the stitches can't come out.
4. Turn the pants right side out and try them on to see if the waist fits comfortably. Make any adjustments if necessary.
You will find that this simple alteration can save you lots of time and money since you can stop running to store after store looking for the perfect fitting pants every time your child hits a growth spurt or when your waist size fluctuates.
Simple Repurposing Alterations
Repurposing clothes is so rewarding and a great way to extend the life of your favorite piece of clothing. Looking for some more simple alterations that are easy to do check out this post I shared on The Find by Zulily - Easy Alterations You Can Do At Home
Sewing Tutorials For Beginners
If you are new to sewing make sure to check out these beginner sewing projects you are sure to enjoy making:
How To Make A Fabric Banner - Easy Sewing & No-Sew Tutorials
10 Must Have Sewing Supplies For The Beginner
How To Make A Rag Strip Quilt Sewing Tutorial


No comments:
Post a Comment
Your comments are appreciated! Thanks for your suggestions, questions and feedback.