
A friend at church is expecting her first baby this fall and the baby shower is just around the corner. I have had my eye on a herringbone quilt pattern for some time now but I didn't really have any reason to make a quilt...until now! Every new baby needs a cozy baby blanket or quilt to welcome them into this world which gave me a great reason to start making a baby quilt.
When I had my girls a co-worker gifted each of them a hand-quilted baby quilt. It was such a thoughtful and practical gift that I knew then that I wanted to learn how to make baby quilts to give as gifts. Both quilts had been loved by my girls when they were little and are now safely stored away for them when they start a family.
This post contains affiliate links which means if you click on a link and make a purchase I may receive a commission at no additional cost to you. For more information please see my disclaimer page. Thanks!
Now that I had a great reason to make a herringbone quilt it was time to pick out fabrics! I really wanted to stick to a gender-natural color palette with a simple modern style. I decided to use a black/gray camo print that I got from Fabric Wholsale Direct with white cotton for my half-square triangles and a light mint green cotton for the trim and back.
Remember to PIN this post for future reference!!

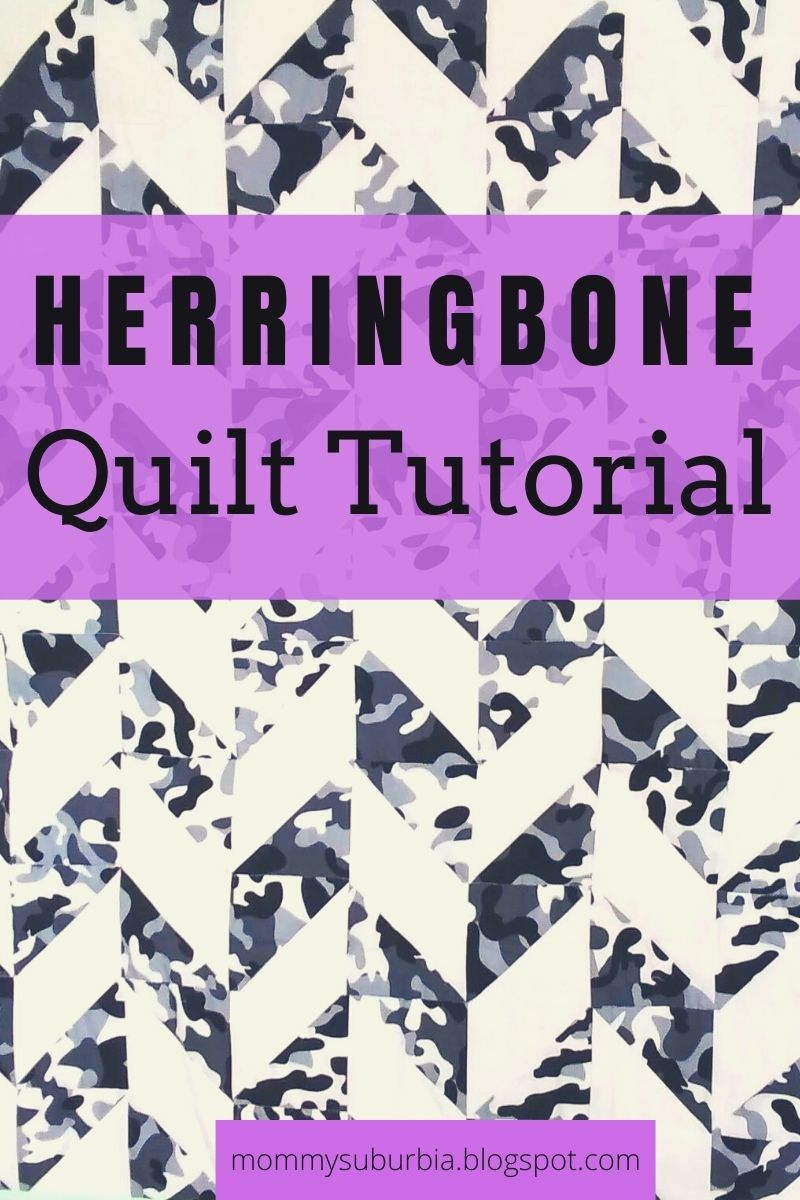
If you are new to quilting or maybe you are interested in making a herringbone quilt this is a great pattern to get started with! It might look a little bit difficult from the finished quilt pictures but don't let that fool you. This quilt is made using half-square triangles (HST) arranged in a repeating pattern.
Half square triangles are really easy to make and you can find tons of great tutorials on how to make them. Here is the tutorial I found to be very helpful when I first got started quilting: Modernly Morgan - How To Make Half Square Triangles.
For this quilt I made my HST's using 5 1/2" squares of fabric which when sewn and cut end up being 5". Once I sewed the triangles together they end up being about 4 1/2". This quilt is totally customizable to your liking by adjusting the size of the HSTs. Have fun playing around with different-sized HSTs and see what you like.
The key to this quilt is to lay out the HSTs in the herringbone pattern on a flat surface (a.k.a the floor) then sew them together one row or column at a time. Also, your iron will become your BFF with this project since getting the points of the HSTs to "nest" properly can only happen if you iron your seams in opposite directions before sewing.
Here is a graphic to help you get started laying out your HSTs into a herringbone pattern. Add as many rows and columns as to adjust the size of your quilt.

Right before I made this quilt I also made a small little ironing pad that sits right next to me on my sewing machine table so I can just sew, iron, sew, iron, sew....you get the point right? It has saved me a ton of time and it was super simple to make. I will be posting a tutorial on how to make one for yourself in the near future!! Make sure to follow me so you get all the latest updates!

Ok, back to the herringbone quilt. I wanted to share some pictures of the process I followed to make the quilt with you that seem to be easier to follow than written instructions. I'm a visual learner so pictures are where it is at for me!
How To Make A Herringbone Baby Quilt
- The first step is to cut out a bunch of 5 1/2" squares from the two main cotton quilt fabrics you chose. I had no idea when I started how big I wanted my baby quilt to be so I made a lot of squares. I had a pile of 5 1/2" white squares and a pile of 5 1/2" black/gray camo squares. Follow the HST tutorial I linked above and make the two different colored fabric squares into HSTs.

- Lay the HSTs into the herringbone pattern. I used the floor and part of my cutting mat to lay out the pattern. Once I had them all laid out I started sewing them together in rows. After the rows are finished sew the individual rows together to make the quilt top. Square up the quilt top to make it square and even all the way around.
- Select a fabric for the back of your quilt. For the back of my herringbone quilt, I chose to use a solid light mint green cotton fabric. I purchased a little extra yardage because I knew I was going to make the binding from the same fabric. Make a "quilt sandwich" by laying your backing fabric down (right side down) on a flat surface then your batting then finally the quilt top (right side up). I use safety pins to baste the layers of the quilt sandwich together so they don't move when I start quilting. For this quilt, I stitched in the ditch along the horizontal rows and then added stitching along the camo print triangles on each row creating a zig-zag pattern. Use your imagination and quilt any way you like!
- Time to add the binding. Since my quilt was going to be gifted to a baby I wanted to make sure it was very durable and could hold up to lots of use and washings so I chose to machine bind the quilt instead of hand-sewing it. To make binding I cut strips of fabric into 2 1/2" by the length of the fabric then ironed the strips in half. If this is your first time binding a quilt I suggest you follow this great tutorial from The Seasoned Homemaker . Go slow and remember you can always pick out stitches if you need to!

Quilting can be a pretty addictive craft! Once you make one you are going to want to make some more beautiful quilts. I have some more easy quilt patterns and tutorials you will enjoy just as much as this herringbone quilt. Check out these quilts:
Improve Spinners & Hourglass Quilt Tutorial
Quilting For The Beginner - Rag Quilts
Tips & Tricks To Make A Half Square Triangle Quilt
Sewing and quilting is a fun hobby that anyone can learn! Besides a good quality beginner sewing machine (I love my Singer!) there are some sewing notions (a.k.a. sewing supplies) that you will want to invest in as you get started learning how to sew and quilt. To help you out I put together a post with the 10 Must Have Sewing Supplies For The Beginner to help you out and get you started.
No comments:
Post a Comment
Your comments are appreciated! Thanks for your suggestions, questions and feedback.